Opening Screenshots From a Vintage Macintosh in Modern macOS
Apple’s System 6 stored its screenshots in MacPaint format. Learn how to open them in recent versions of macOS.

I recently added a Macintosh SE 1/20 from 1987 to my vintage computer collection. For someone like me who grew up with DOS/Windows (and eventually Linux), and only made the switch to Mac OS X in 2010, it is quite interesting to explore the beginnings of macOS and find out which elements already existed in the early days.
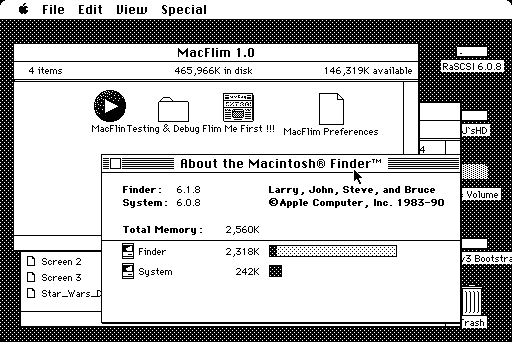
I was amazed when I learned that the keyboard shortcut for taking a screenshot (Shift + Command + 3) dates back to the initial release of classic Mac OS (called System 1). So I had to try it on my new old Macintosh which was running System 6: And it worked! A file called “Screen 0” was created in the root of my system drive. I copied it over to my M1 MacBook from 2021 and tried to open it. However, it wasn’t mapped to any applications I had installed on my system, and also the file had no extension, making it a bit harder to guess what format it could be.
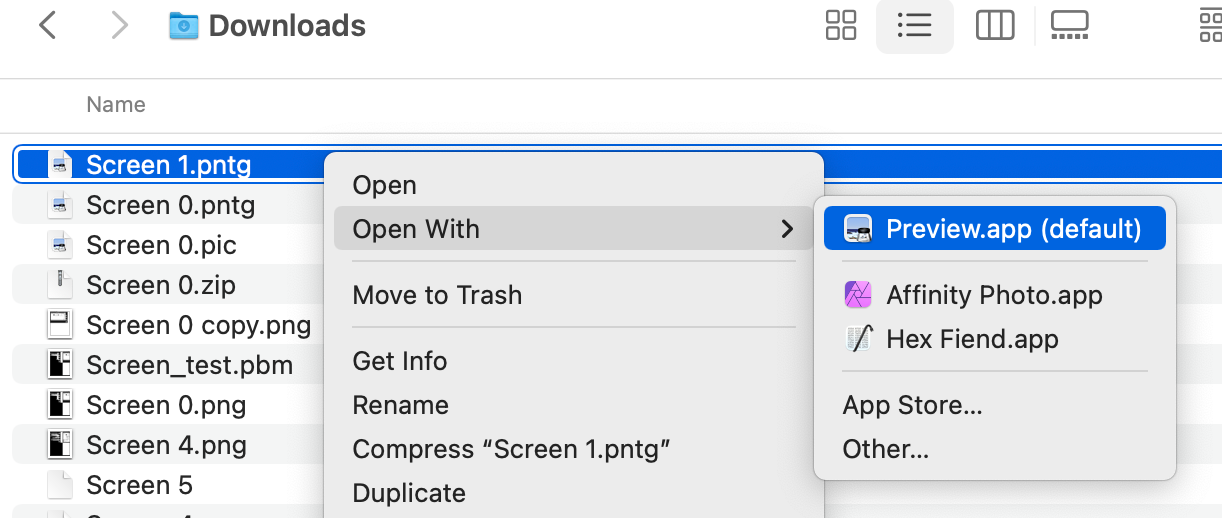
Some googling revealed that System 6 takes its screenshots in the ancient MacPaint format. I therefore tried adding the following extensions: .mac, .pntg, .pic to see if that would allow me to open the file in Preview. A Reddit user reported that he had luck with changing it to .pntg, but that doesn’t seem to work anymore.

It looked promising as it will add Preview to the “Open With” menu, however, it will just open Preview and stop there.
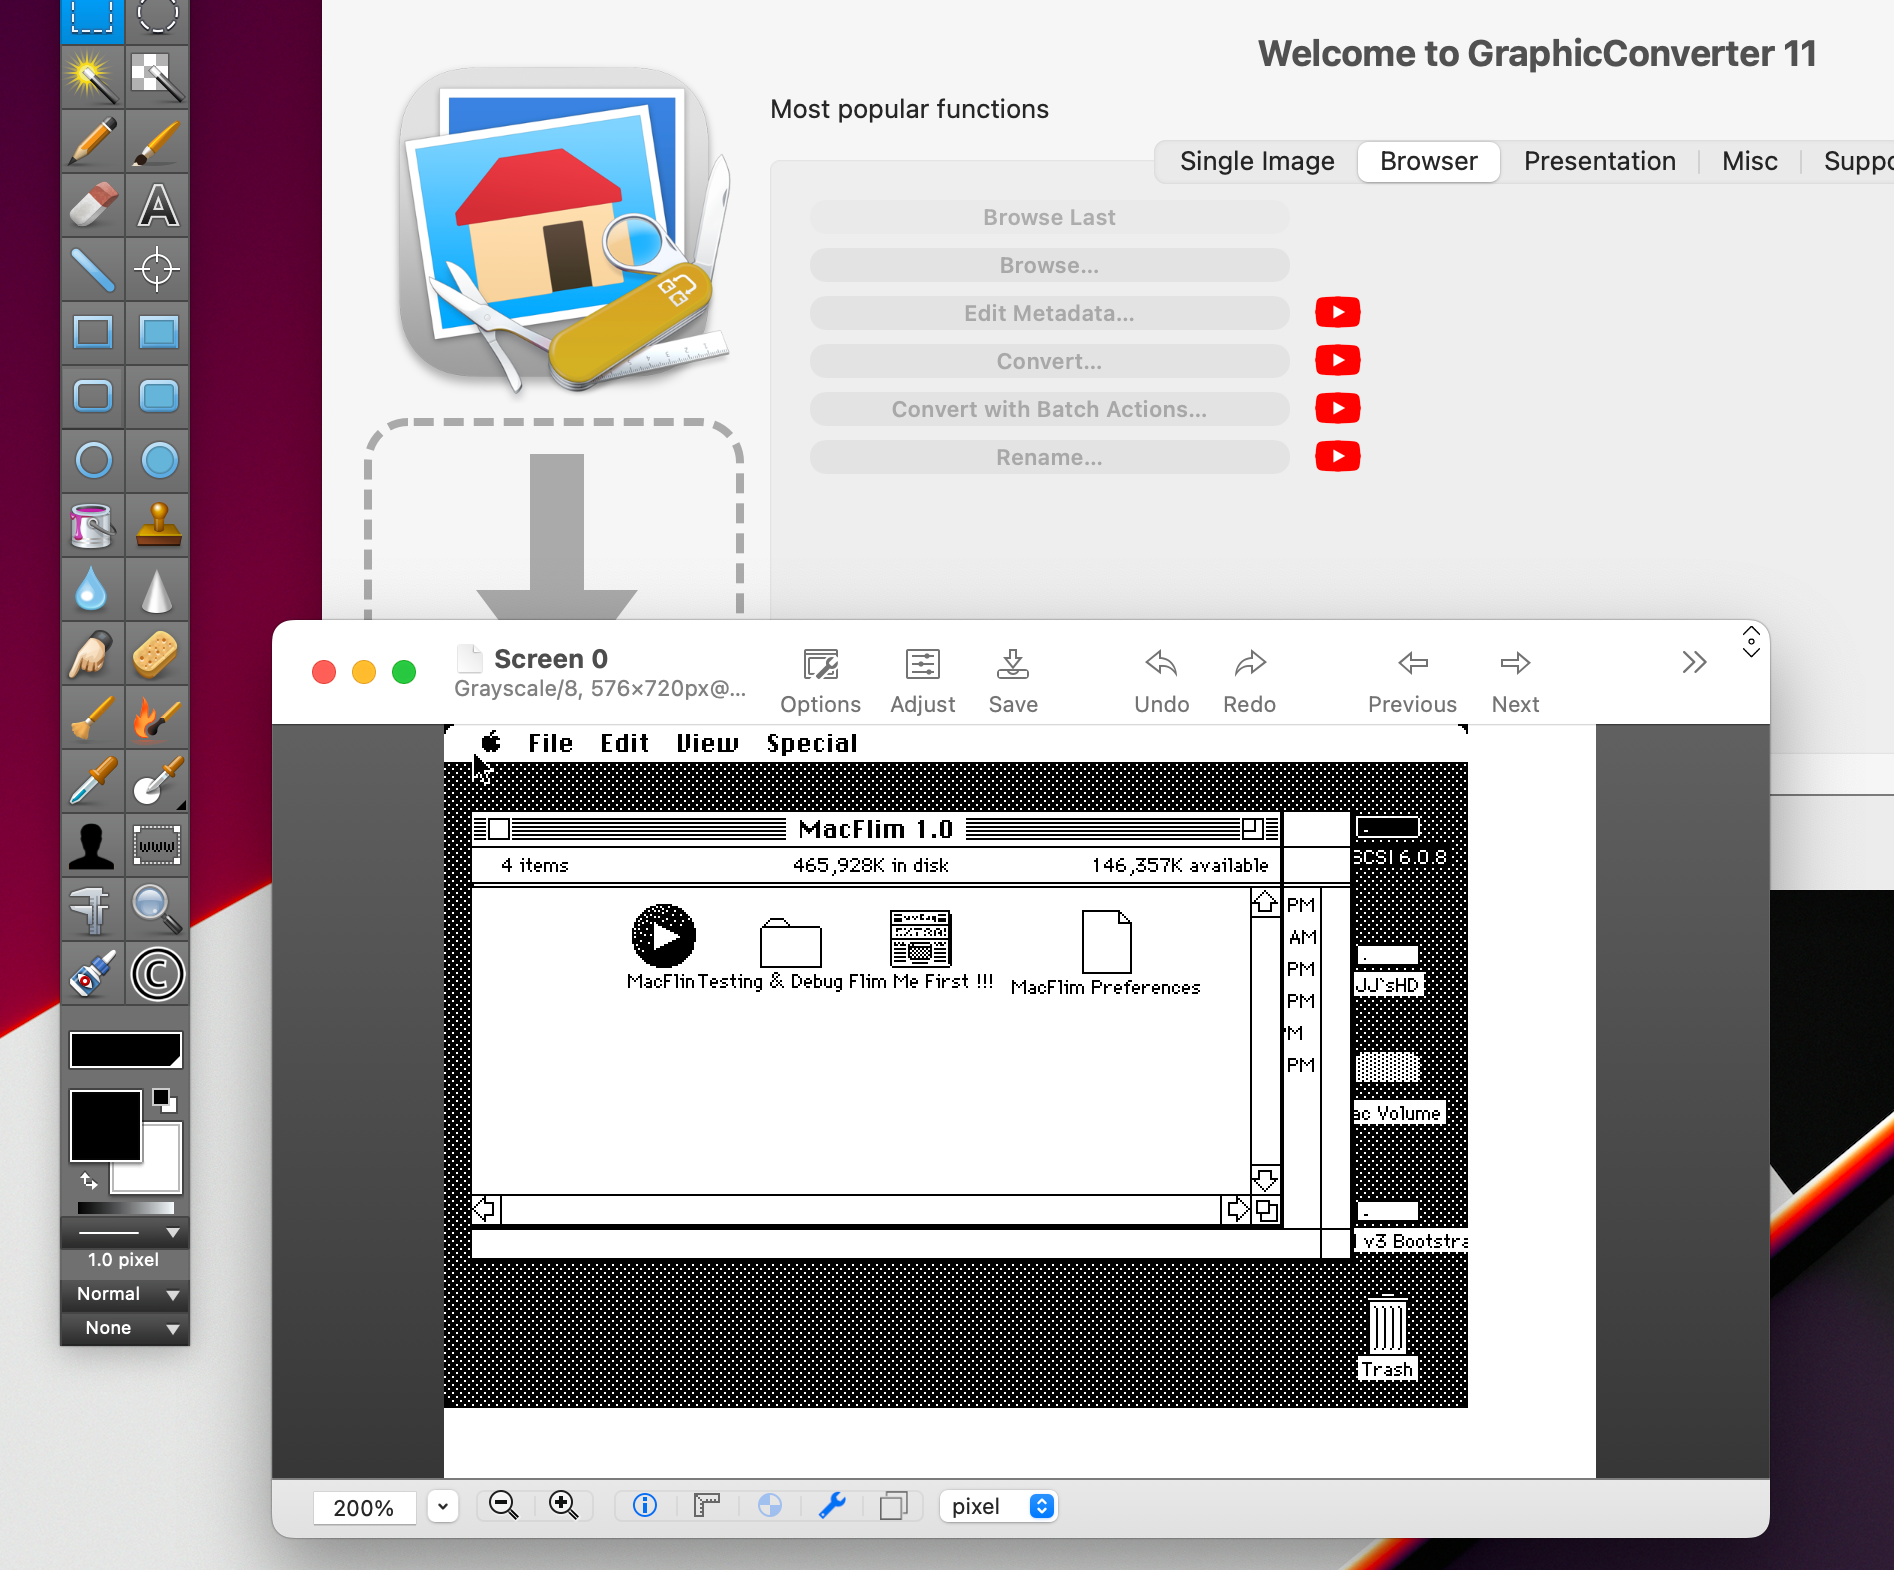
The two options that are in fact working on modern macOS are converting it to PNG using ImageMagick (command-line tool) or opening it in GraphicConverter (shareware GUI application).
Side note: The MacPaint image format has a fixed size of 576×720 which explains why the screenshots from my vintage Macintosh have some white negative space at the right and at the bottom.
Command-Line
You can install ImageMagick via Homebrew:
$ brew install imagemagickAssuming the screenshot from your vintage Macintosh is called “Screen 0” (without an extension), you can use the following commands to convert it to a PNG file:
$ convert mac:Screen\ 0 Screen\ 0.png
Note that the prefix “mac:” will tell ImageMagick which decoder to use. Alternatively, you can rename the file to “Screen 0.mac” beforehand which will have the same effect.
Workaround for ImageMagick Bug
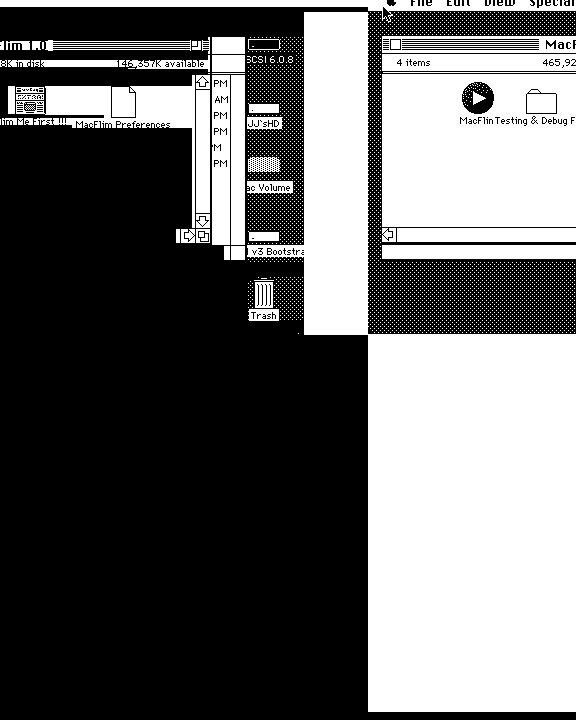
There was a bug in ImageMagick that I reported while writing this blog post. The resulting image was somehow scrambled and looked like this:

To my surprise, the bug was fixed in less than 30 minutes! Pretty amazing.
If you don’t have access to the latest ImageMagick version and still experience this bug, you can use the following workaround.
First, install the netpbm package:
$ brew install netpbmThen convert the image to PBM (portable bitmap format) and then to PNG:
$ macptopbm Screen\ 0 > Screen\ 0.pbm
$ convert Screen\ 0.pbm Screen\ 0.png && rm Screen\ 0.pbm
This will also delete the intermediate PBM file if the PNG conversion was successful.
GUI Alternative
If you prefer a GUI tool, check out GraphicConverter (shareware).

